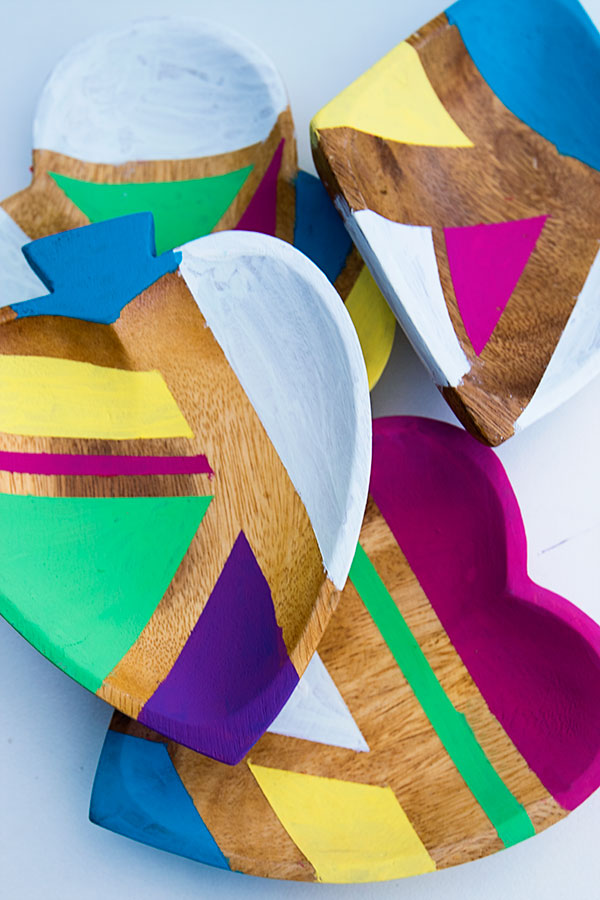
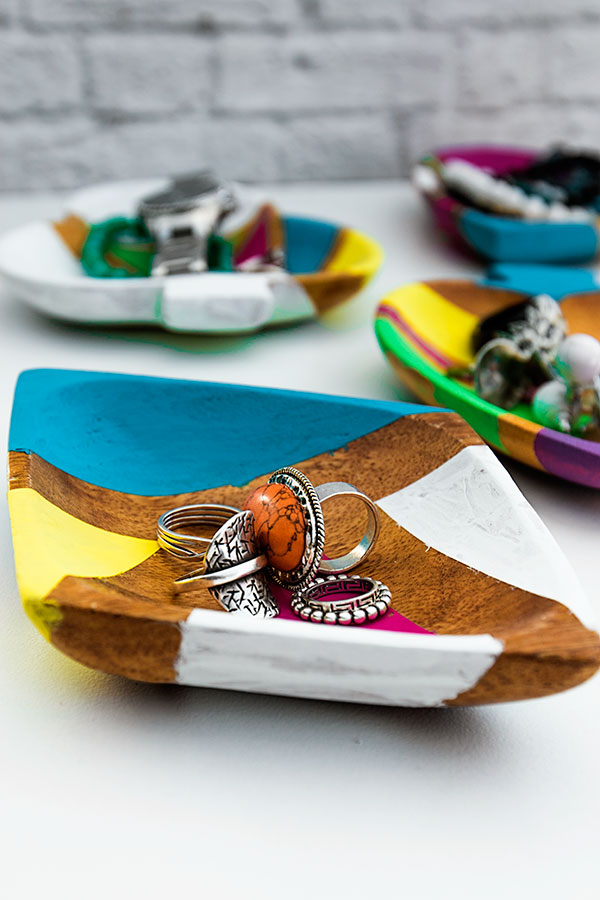
Let’s all take a moment to pause and appreciate the treasures you can find in thrift stores! I found these wooden tray’s the other day for 50c each – bargain! I just knew that I could make them awesome, and so the retro painted wooden jewellery tray was born.
Materials & instructions are below
MATERIALS
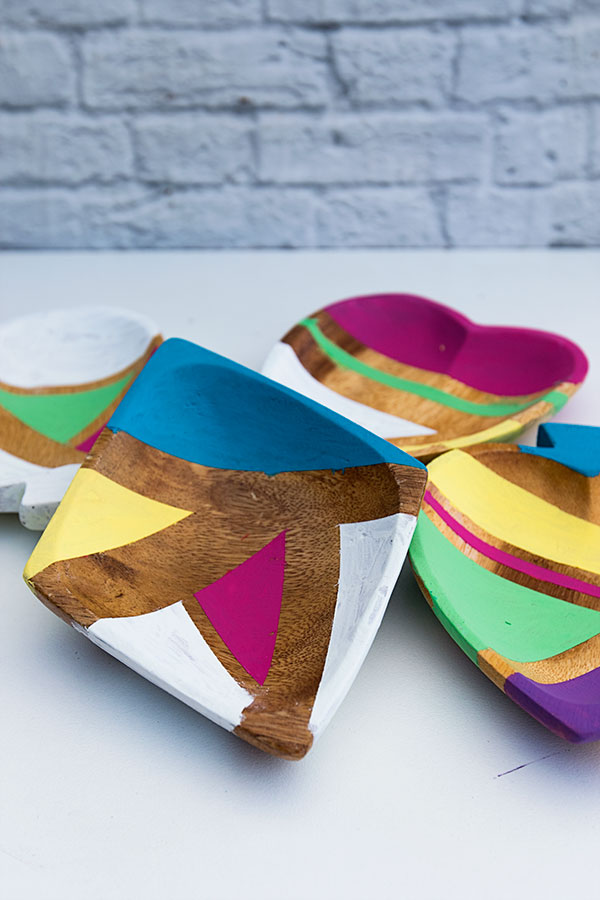
Small wooden trays (mine were all the suits of a deck of cards – so cool!)
Acrylic craft paint
Washi tape
Paint brush
Sandpaper
(optional) Mod Podge
INSTRUCTIONS
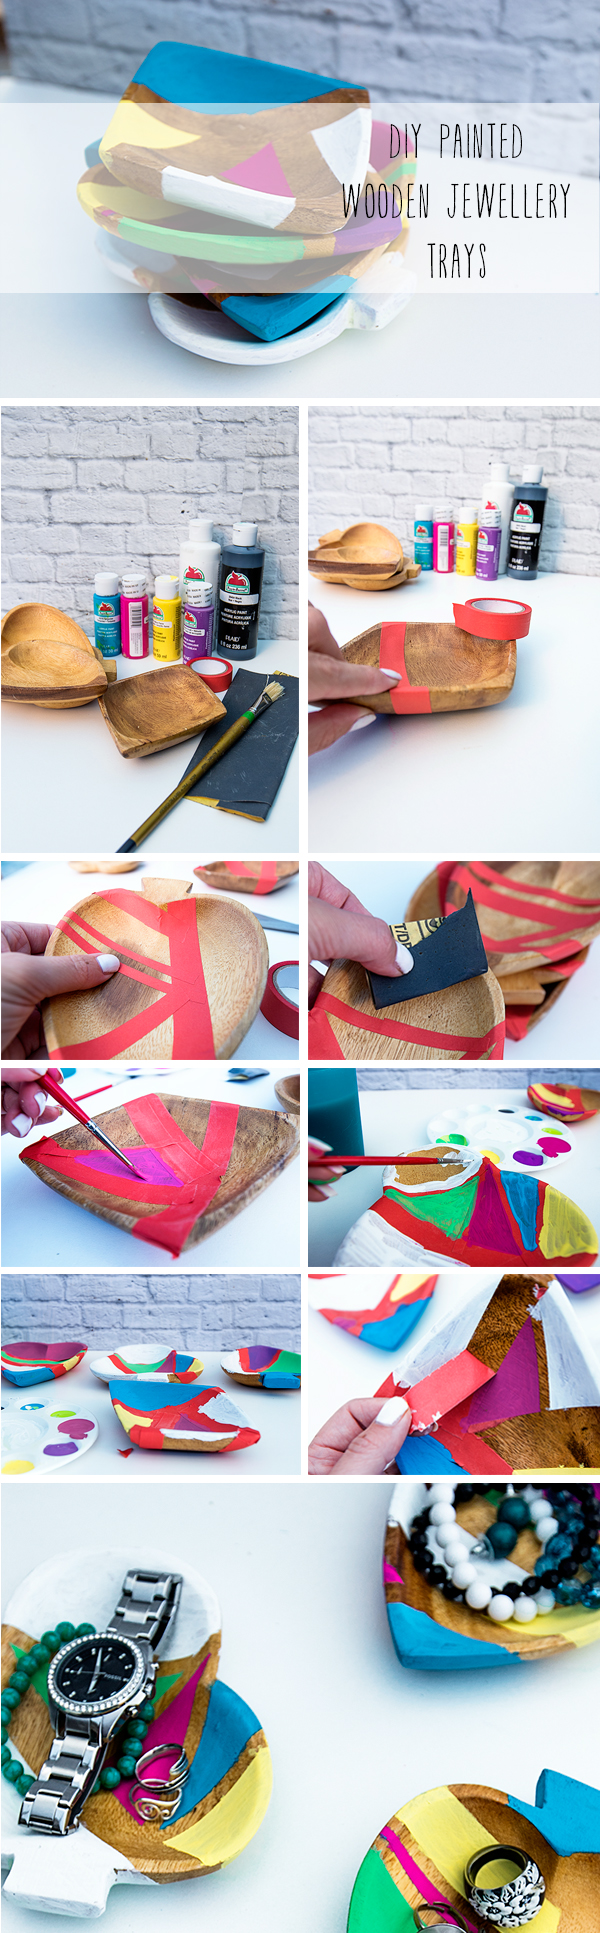
1. Start by using the washi tape to create the outlines of your retro shapes, you can’t really go wrong here. If you want the shapes to go all around the tray make sure your tape goes all around
2. Using the sandpaper, sand the exposed wood so that it’s ready for painting
3. Paint! Go nuts with the color. Depending on the brand of paint you’re using, you may need a couple of coats, I did two, probably could’ve gone three
4. Let it dry
5. Remove the washi tape to reveal your retro wooden jewellery tray!
6. If you’d like to protect the paint from chipping paint a coat or two of mod podge over the whole tray
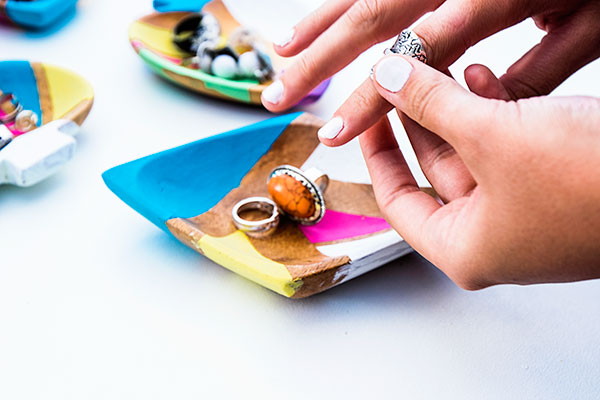
7. Fill trays with all your lovely jewellery!
Related articles across the web